New to Quake Live? Start here.
Learn to Play Quake Live
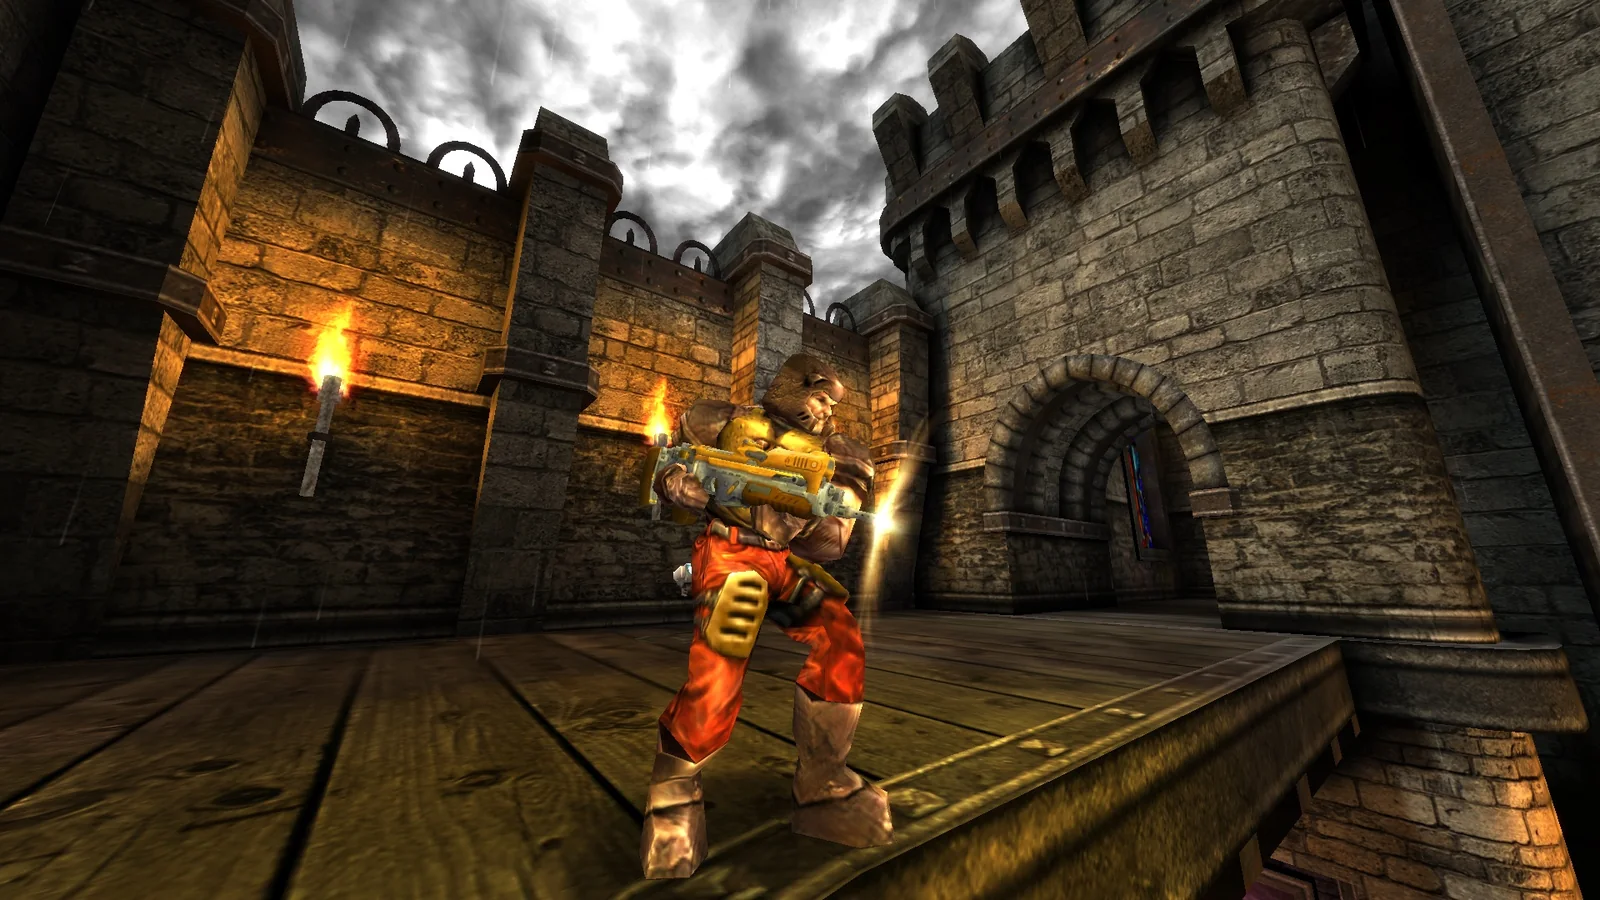
A friendly, practical guide to getting from “I installed Quake†to “I understand what is happening.†Learn the controls, movement, weapons, armor, maps, game modes, settings, aiming, practice habits and the handful of ideas that make Quake stop feeling random.
If you read nothing else
Your first 15 minutes
- Get comfortable before getting competitive. Launch Quake Live, set a resolution and mouse sensitivity that feel normal, and make sure every important weapon is reachable without hunting through the number row.
- Play a few minutes against bots. Your first goal is not winning. Learn what the Rocket Launcher, Lightning Gun and Railgun feel like, where health and armor appear, and how quickly a Quake arena moves.
- Learn one movement trick: the circle jump. It is the doorway to fast Quake movement. You do not need perfect strafe jumping on day one.
- Join Free For All or Clan Arena before making Duel your identity. FFA gives constant repetitions with weapons and pickups; CA gives repeated combat with a full weapon set. Duel is wonderful, but it asks you to manage nearly every Quake skill at once.
- Expect experienced players. Quake Live has been around a long time. A lopsided first night is not evidence that you cannot learn it. Look for one small improvement per session: fewer accidental weapon switches, better movement, one more armor pickup, or cleaner rockets.
Quake Live's current Steam listing describes it as a fast-paced competitive arena FPS with more than 100 arenas and more than a dozen modes. The breadth is real, but you only need a small piece of it to begin.
Chapter 01
What Quake is actually asking you to learn
Most modern shooters teach a player to think primarily about aim, positioning and whatever abilities or equipment define the current character. Quake absolutely cares about aim and position, but it adds two systems that are unusually important: movement as a skill of its own and the arena itself as a resource economy. The player who shoots well but moves slowly and ignores the map is only playing part of the game.
That sounds intimidating until you break it into layers. At the bottom is simple survival: move, shoot, switch weapons deliberately, collect health and stop walking into obvious danger. Above that is mobility: carrying speed through jumps, turning efficiently and using the map's vertical routes. Above that is weapon judgment: knowing when a rocket is better than a rail shot, when Lightning Gun is ideal, and when you should simply leave. Above that is control: remembering where powerful items are and noticing when an opponent is likely to reach them. Only after those basics begin to feel automatic does high-level prediction become useful.
Aim, weapon switching, movement, rocket jumps, dodging and executing actions without thinking about the keyboard.
Knowing where weapons, health, armor and exits are—and which route gets you somewhere safely.
Building a stronger health/armor stack and denying important resources to opponents when the mode rewards it.
Using sound, item disappearance, deaths, spawn behavior and movement patterns to infer where people are going.
The important beginner lesson is that you do not need to master all four simultaneously. Pick a layer. If tonight is movement night, your scoreboard can be ugly while the session is still productive.
Chapter 02
A friendly first setup: make the game readable before making it fancy
Quake veterans can spend years refining configurations, but a new player should resist the temptation to download a professional player's config and assume it is objectively correct. A tournament player's unusual field of view, sensitivity, crosshair, weapon position or visual reductions may solve problems that you do not have yet. Start with readability and control.
Bethesda's support documentation confirms that Quake Live keeps configuration files in the game's Steam installation/user structure and specifically names files such as qzconfig.cfg and repconfig.cfg when explaining config migration. That becomes useful later, but you do not need to hand-edit files to begin playing.
Chapter 03
Movement: the thing that makes Quake feel like Quake
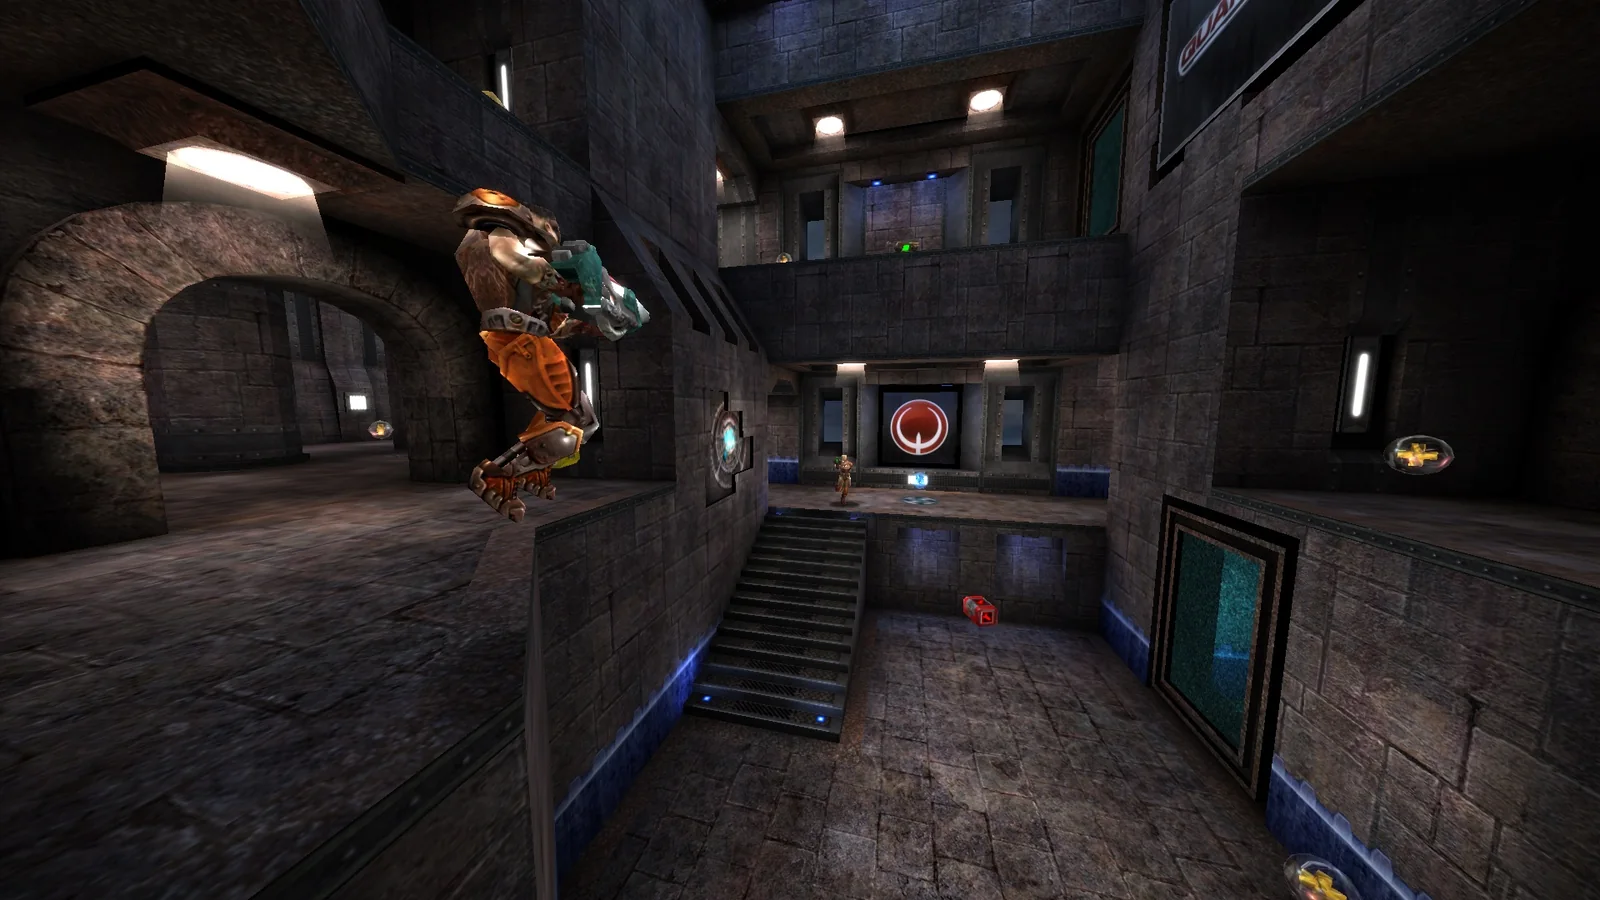
If you come from a shooter where running speed is mostly fixed, Quake initially feels strange because experienced players appear to glide through the arena. That is not cosmetic. The Quake III movement code explicitly separates ground acceleration, air acceleration, friction and player input. In the air, directional input can affect velocity rather than simply leaving you on a fixed ballistic path. Skilled players exploit those rules to build and preserve speed.
Start with the circle jump
A circle jump is a fast launch from a standing or slow start. In practical beginner language: begin turning your view while applying forward plus a strafe direction, then jump as your movement lines up. The purpose is to leave the ground with more horizontal speed than a plain straight-ahead jump. Do not obsess over a perfect number. Learn the feeling of converting a turn into forward speed.
Then learn strafe jumping
Once airborne, Quake lets you continue accelerating when your movement input and view turn are coordinated. A beginner version of the rhythm is: jump, use forward plus one strafe direction, smoothly turn the mouse toward that strafe, then alternate sides on later jumps. The exact optimal angles depend on speed and physics; the first milestone is much simpler—stop smashing random keys and learn a smooth repeatable arc.
id's released Quake III movement source shows an air-movement path that constructs a desired movement direction from forward/side input and applies air acceleration to it. That is why the technique is not merely folklore: it emerges from the game's movement model.
Rocket jumping
A rocket explosion can trade health for movement. Aim at a nearby surface—commonly the floor or wall—jump and fire so the blast pushes you. The useful question is never simply “can I rocket jump?†It is “is the positional advantage worth the self-damage?†In modes such as Clan Arena, where the resource rules differ from item-control modes, the answer can also differ.
Do not confuse speed with good movement
A beginner who strafe-jumps at full speed into the same doorway five times is not moving well. Strong movement includes stopping, changing rhythm, taking a quieter route, dodging a rail line, using a ledge and arriving with the correct weapon ready. Speed is a tool.
A simple movement practice loop
- Run one familiar map without enemies.
- Practice clean circle-jump starts down long corridors.
- Link three or four strafe jumps without caring about maximum speed.
- Try the same route while deliberately stopping at useful pickups.
- Add one rocket jump that actually saves time or reaches a useful level.
Chapter 04
Weapons: stop asking “which is best?†and ask “best for this second?â€
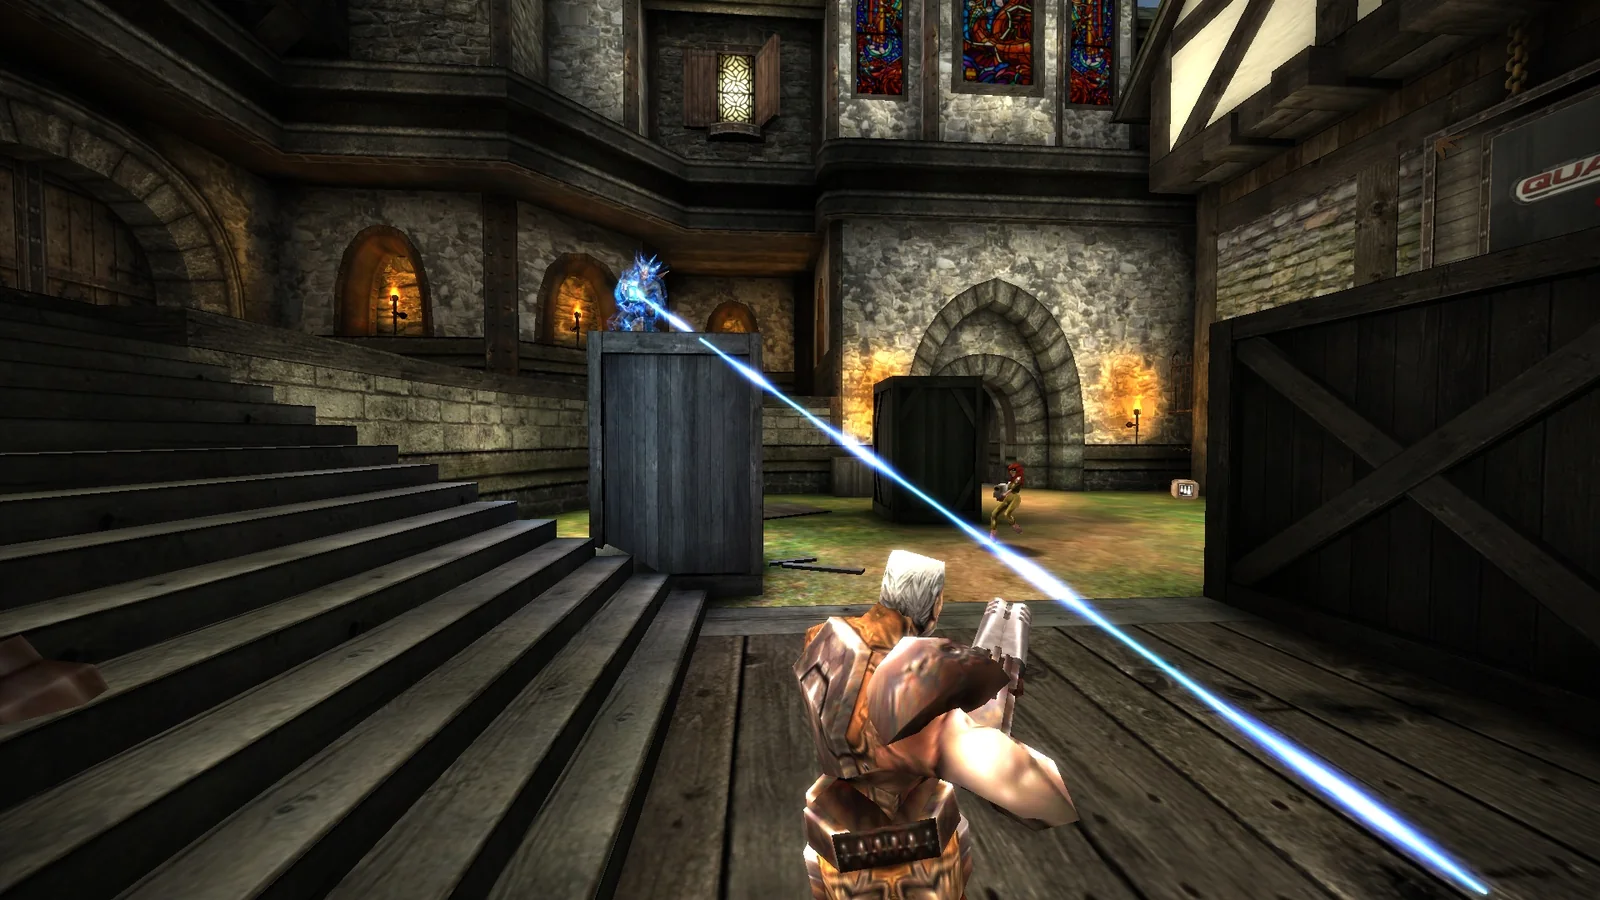
Quake weapons overlap, but they are not interchangeable. Good players switch because the geometry, distance, opponent movement and next half-second of the fight have changed. A useful beginner framework is to think in three broad combat jobs: projectile prediction, continuous tracking and instant long-range punishment.
| Weapon | Beginner mental model | Good situations | Common beginner mistake |
|---|---|---|---|
| Rocket Launcher | Predict where the enemy will be; use splash and knockback. | Doors, stairs, floors, corners, close/mid fights, controlling movement. | Aiming only at the opponent's chest instead of useful nearby surfaces. |
| Lightning Gun | Track continuously while controlling distance. | Visible opponents at close-to-medium range, especially when you can maintain line of sight. | Continuing to hold the beam when the opponent has already broken line of sight. |
| Railgun | One precise instant shot. | Long sightlines, exposed targets, peeks, finishing damage. | Using it at point-blank range because it feels powerful. |
| Shotgun | Reliable burst when close enough. | Finishing weakened opponents, tight fights, spawns where stronger weapons are unavailable. | Expecting full value from far away. |
| Grenade Launcher | Place danger where somebody wants to move. | Chokepoints, bouncing shots into unseen areas, denying routes. | Trying to duel a visible target with slow direct grenades when another weapon fits better. |
| Plasma Gun | A fast stream of projectiles with strong close pressure. | Tight spaces, sustained pressure, leading targets, some movement tricks. | Treating the bolts like hitscan and aiming only at the current position. |
| Machinegun | Immediate ranged chip damage. | Fresh spawns, finishing low targets, situations where nothing stronger is ready. | Ignoring it because it is a starting weapon. |
| Gauntlet | Extremely short-range commitment. | Humiliation, desperation, surprise contact. | Running through lethal gunfire hoping to force a melee hit. |
Quake Live includes additional weapons/content depending on mode and arena. You do not need to memorize every edge case on day one. Learn Rocket, Lightning and Rail first because together they teach the most important aiming styles. Current beginner discussions independently converge on that same trio as the core weapons worth understanding early.
Weapon switching is part of aiming
If an opponent disappears around a corner, the correct response may be switching from Lightning Gun to Rocket Launcher before you follow. If a fight stretches across an atrium, Railgun may replace rockets. If somebody lands beside you, your beautiful long-range rail setup may suddenly be terrible. Direct binds matter because weapon choice is often a timing problem, not a menu-navigation problem.
Use the site's Weapons statistics to see how weapons actually perform across recorded matches on these servers. Treat aggregate data as evidence about the population—not as a commandment that a certain weapon is always superior.
Chapter 05
Health, armor and “stackâ€: winning fights before the first shot
Quake lets you enter fights with different amounts of survivability. Players often call the combined strength of health and armor their stack. If you repeatedly charge a better-stacked opponent in an item-control mode, even excellent aim may not rescue the decision. Learning to gather resources between fights is one of the fastest ways to stop feeling helpless.
Start with a simple habit: after a fight, do not stand still admiring the frag. Ask, what do I need now? Health? Armor? Ammo? A better weapon? A safer route? Quake's arenas are designed around moving through resources. The transition between fights is part of the fight.
Timing without turning the game into homework
Advanced players remember important item respawn times and plan routes around them. A beginner can learn the concept without memorizing the whole map. Pick one major item on one map. Notice when it is taken. Try to be nearby when you expect it to return. Once that becomes natural, add another.
In Duel and traditional TDM, this becomes central strategy because denying a major resource affects both your stack and the opponent's. In modes with different loadout/resource rules—Clan Arena is the obvious example—the strategic emphasis shifts toward team fights, positioning, damage and survival rather than running the same pickup-control economy.
Chapter 06
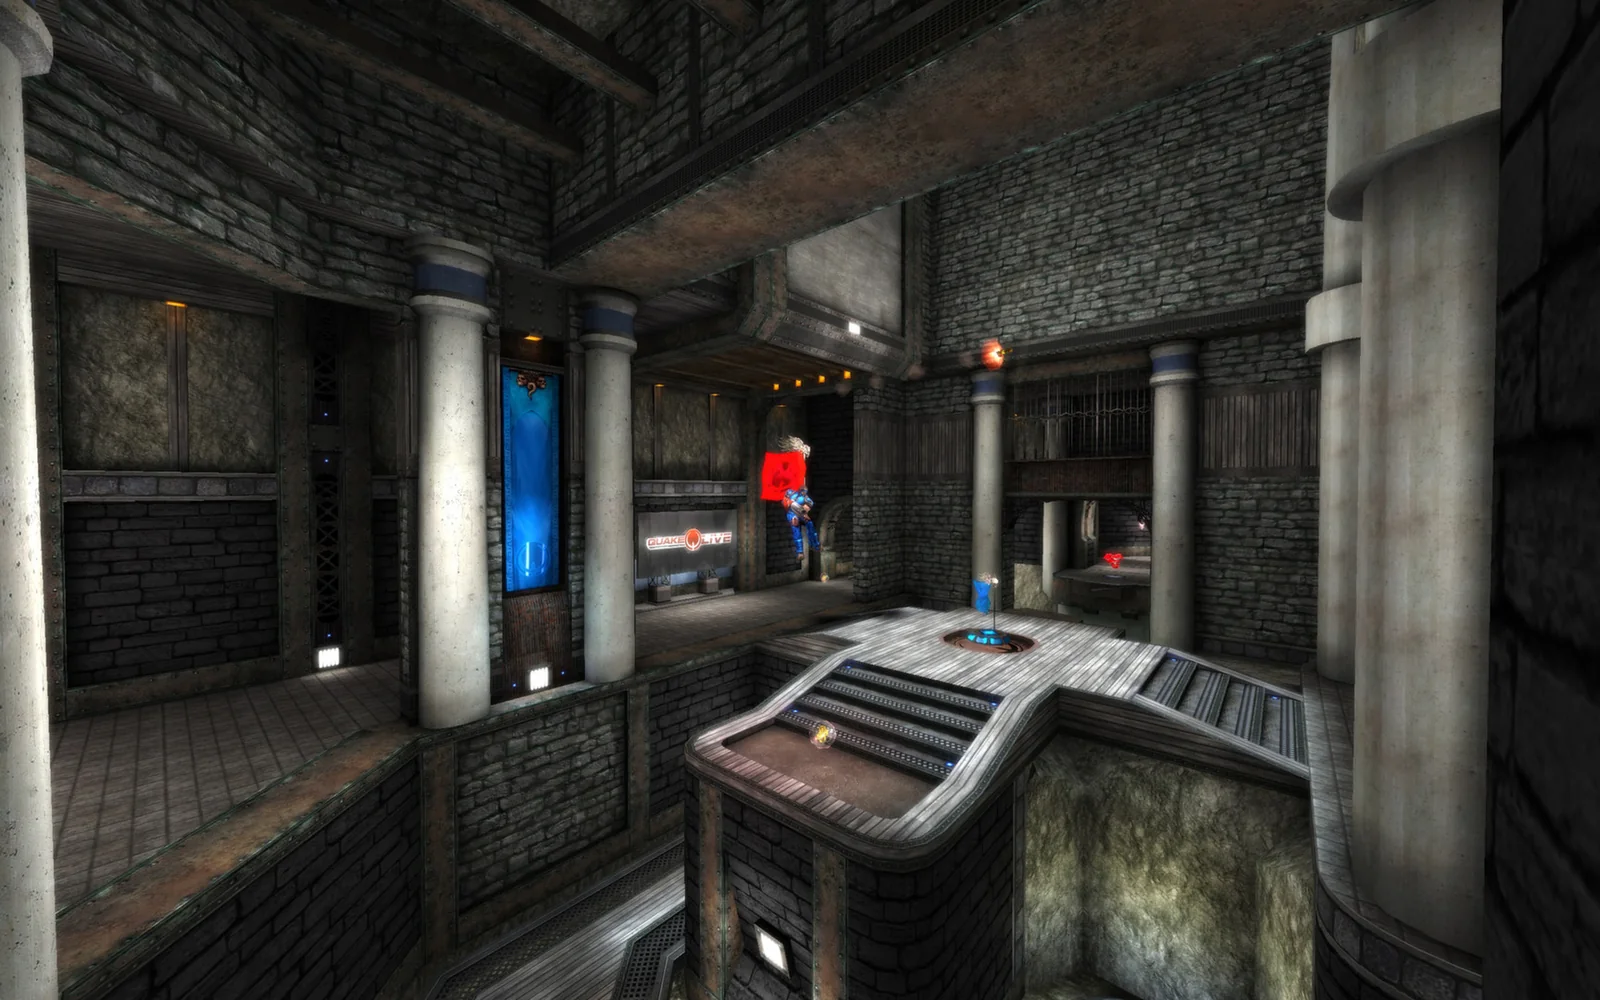
Learning maps without memorizing a blueprint
A Quake map feels confusing when every hallway looks like another hallway. Do not attempt to memorize every route at once. Build a map from landmarks. Choose the major armor, the Mega Health if present, the Rocket Launcher, the Railgun, a distinctive jump pad or room, and the main vertical connections. Those locations become the skeleton; smaller routes attach themselves later.
One of our next planned guide expansions is a proper map encyclopedia that combines traditional map knowledge with this site's own match statistics. Until then, the Analytics and Matches pages can help you see which arenas are actually being played here.
Chapter 07
Game modes: the same movement and weapons, very different priorities
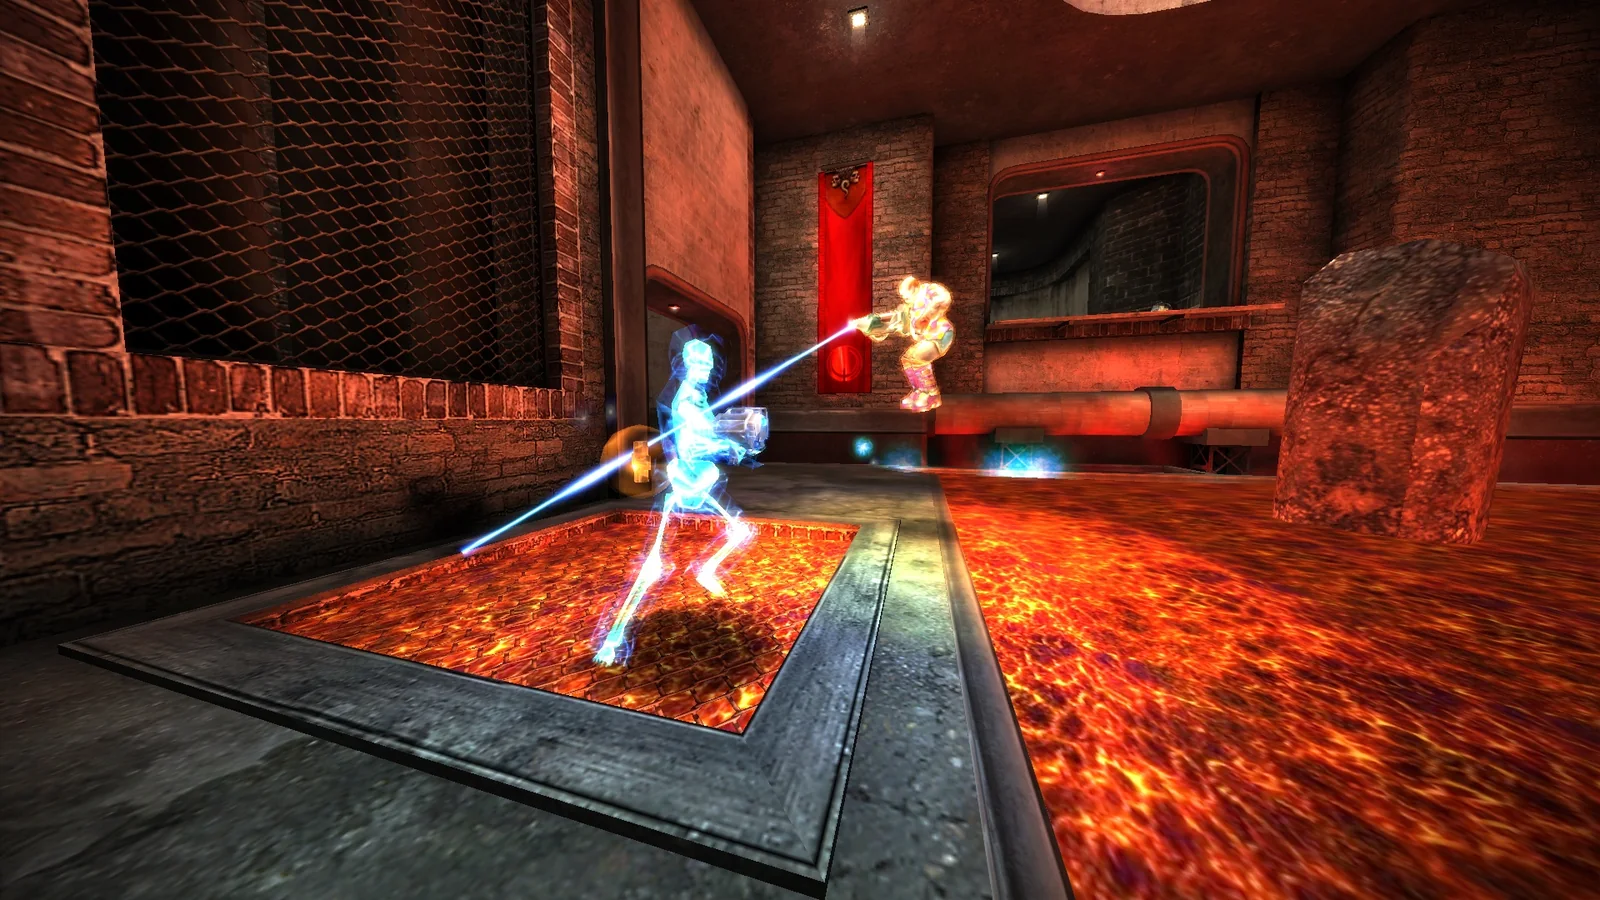
Quake Live's official Steam listing advertises more than a dozen game modes, including Free For All, Duel, Team Deathmatch, Clan Arena, Capture the Flag and Domination. You do not need to learn them all. These servers focus on six modes, and each teaches something useful.
Everybody is an opponent. Excellent for repetitions: spawn, find a weapon, fight, recover, repeat. The chaos teaches adaptation and basic map flow.
Team rounds built around combat rather than normal item pickup control. Great for learning weapons, team positioning and survival because you get repeated concentrated fights.
Team play where defeated players become frozen and teammates can work to thaw them. Movement, positioning and awareness of teammates matter as much as raw fragging.
One versus one. The purest lesson in resource control, map prediction and converting an advantage without throwing it away. Also the harshest classroom for a brand-new player.
Team fragging with map resources. Adds communication, role awareness, weapon/resource distribution and the need to understand that a pickup may be more valuable to a teammate.
Steal the enemy flag and return it while protecting your own. CTF rewards movement, route choices, defense, escorting and the kind of teamwork that can make one clever run more valuable than a pile of frags.
Which should I play first?
FFA is the easiest place to get many independent fights without feeling that every death destroyed a strategic plan. CA is excellent if you want concentrated aim/movement practice with the major weapons. FT is a friendly introduction to team awareness. Try CTF when you want an obvious team objective and room for runners, defenders and escorts. Try TDM once you are comfortable moving and collecting resources. Save serious Duel study until you actually want the deep resource-control game; there is nothing wrong with playing it early for fun, just understand why a veteran can make it feel brutally one-sided.
The Ratings guide explains why this site tracks the modes separately rather than pretending your Duel skill and FFA skill are the same thing.
Chapter 08
Aim and dodging: three different aiming problems
“Improve your aim†is bad advice because Quake asks for several different kinds of aim. A Railgun shot is not a Lightning Gun track, and a rocket at somebody's feet is not either of those.

Hitscan flick / single-shot precision
Railgun rewards placing one shot at the correct instant. Beginners often stare at the crosshair and try to force heroic flicks. A calmer approach is to put the crosshair where the target is likely to cross and let timing do part of the work. Doorways, jump pads and narrow ledges create predictable movement.
Tracking
Lightning Gun rewards continuously following a visible target. Good tracking is helped by movement: if your own strafe is smooth and deliberate, the relative motion can become easier to read. Wild mouse corrections and wild keyboard mashing usually make both players harder to predict—including yourself.
Projectile prediction
Rockets and plasma travel. Aim where the opponent is going, or aim at geometry that turns a near miss into splash damage. Floors, stairs, walls and doorframes are part of your aiming system. Rockets also influence movement through knockback, so a good shot can make the next shot easier.
Dodging is not random movement
If you alternate left/right at a perfectly regular rhythm, an experienced opponent will time you. If you hold one direction forever, they will lead you. Good dodging mixes short and long commitments, terrain, jumps used sparingly, changes in speed and knowledge of what weapon the opponent is using. Dodging a rail is different from escaping a Lightning Gun beam, and jumping against rockets can make your landing predictable.
Chapter 09
Sound and information: eventually you should “see†people you cannot see
Quake's arenas leak information. A jump, landing, weapon fire, pickup or teleporter can tell you that somebody is present and sometimes what route they are taking. You do not need elite headphones to begin using this. You need the habit of noticing.
Try spectating a strong player for a minute and ask why they suddenly look toward a doorway before an opponent appears. Sometimes it is spawn knowledge or prediction; often it is sound. As map knowledge improves, a sound is no longer “somebody jumped somewhere.†It becomes “somebody probably used that jump pad, which means they may appear on this level next.â€
Information also comes from absence. If you reach an important item and it is missing, someone took it. If a teammate dies in a particular part of the map, an opponent was recently there. If several enemies are visible on the other side of a CA arena, one route may suddenly be safe. Quake rewards turning little facts into the next decision.
Chapter 10
How to practice without turning Quake into a second job
The fastest way to hate a difficult game is to create a training program so joyless that you stop launching it. Practice should be short, specific and attached to real play.
One map, clean starts, a few strafe-jump chains and one useful rocket jump.
Use bots or a practice environment and focus on one weapon style rather than measuring a meaningless global accuracy score.
Pick one focus for the session: Rockets at feet. Stop cycling weapons. Find armor after every spawn. Listen for jump pads.
Ask what killed you repeatedly. Lack of aim? Wrong weapon? Bad route? No stack? Chasing? Not knowing the map?
Current Quake Live community discussions from new players frequently describe the same early routine: direct weapon binds, movement tutorials, bots for repetitions, then live games. Veterans also commonly warn that the remaining population contains many experienced players. That makes process goals much healthier than expecting a positive win rate immediately.
Practice one constraint at a time
For one FFA match, tell yourself that every spawn begins with finding a useful weapon before chasing a fight. In another, force yourself to switch to rockets when someone disappears behind geometry rather than following with Lightning Gun. In another, make your only goal to touch armor more often. These constraints create habits faster than vaguely trying to “play better.â€
Chapter 11
Using stats and ratings without letting numbers ruin the game
This site exists partly because Quake produces interesting data. Use it as feedback, not as a verdict on whether you belong. A rating estimates performance in a particular competitive context. It is not a permanent label, and this site's five supported modes have separate ratings precisely because different modes reward different skills.
Your player page, weapon data, recent matches and analytics can answer useful questions. Are you dying before acquiring a useful weapon? Are your Railgun attempts producing almost no value? Are you playing much better in CA than Duel? Are you consistently joining late? Look for patterns across multiple matches instead of overreacting to one night.
Rating deviation and participation rules are explained on the How Ratings Work page. If you care about the mathematics, it includes the full Glicko-2 treatment. If you do not care about the mathematics, the beginner takeaway is simple: play normally, finish matches when you reasonably can, and let the system accumulate evidence.
Chapter 12
The console and configs: useful tools, not an initiation ritual
Quake's console/config system is one reason the game remains so adjustable. Commands can bind keys, change client variables, execute config files and expose settings far beyond what a modern “basic/advanced†menu usually shows. You can spend a ridiculous amount of time here. You do not need to.
Start by using the normal game menus. Once you know what you want to change, learn the console deliberately. Community-maintained technical documentation lists commands such as bind for associating a key with a command, while Bethesda's support documentation confirms the Steam-era locations and names used for Quake Live configuration files. Those are useful references when you reach the point where you want a reproducible personal setup.
Server chat commands are a different thing
On these servers, commands beginning with ! are server/plugin commands, not the same thing as Quake console commands. Use !commands or the command information presented by the server to see what is available. Stats, ratings and team tools exposed by this server are conveniences layered on top of Quake Live.
Chapter 13
Common beginner mistakes—and the better habit
| Mistake | Why it hurts | Better habit |
|---|---|---|
| Running directly at every enemy | You fight on their terms and often with a weaker stack. | Ask whether you have the weapon, health and position for the fight. |
| Scrolling through weapons | You lose time and often stop on the wrong weapon. | Use direct binds for the weapons you rely on most. |
| Using one favorite weapon everywhere | Quake's weapon set is deliberately situational. | Switch based on distance, geometry and what will happen next. |
| Only watching the crosshair | You miss armor, routes, teammates and threats outside a narrow tunnel of attention. | Build the habit of scanning the arena between shots. |
| Jumping constantly in fights | Repeated jumps can make your trajectory predictable. | Use grounded strafes, terrain and irregular rhythm; jump for a reason. |
| Ignoring sound | You throw away free positional information. | Notice jump pads, pickups, weapon fire and movement. |
| Changing sensitivity every loss | You never develop a stable motor reference. | Pick something comfortable and give yourself real time to adapt. |
| Starting with serious Duel and judging yourself by wins | A veteran controls resources you do not yet know exist. | Use FFA/CA for repetitions, and treat early Duel as study rather than a referendum on talent. |
| Chasing a weak enemy forever | You abandon resources and run into prepared positions. | Recognize when a chase has become more expensive than the potential frag. |
| Trying to learn everything simultaneously | Your attention overloads and nothing becomes automatic. | Choose one focus per session. |
Chapter 14
A four-week beginner plan that still involves actually playing
Week 1 — Stop fighting the controls
- Set comfortable video/mouse settings and leave them mostly alone.
- Direct-bind your important weapons.
- Play FFA and/or CA.
- Learn Rocket, Lightning and Rail as three different aiming problems.
- Learn one or two maps well enough to find weapons intentionally.
Week 2 — Move like the arena is three-dimensional
- Practice circle-jump starts and short strafe-jump chains.
- Learn useful vertical routes rather than merely running faster in straight corridors.
- Add basic rocket jumps where the health trade makes sense.
- Notice when speed gets you killed because you entered a room without information.
Week 3 — Learn resources and information
- Choose one major item on a familiar map and begin noticing its cycle.
- Recover health/armor after fights instead of instantly chasing the next target.
- Pay attention to jump pads, pickups and weapon sounds.
- Spectate a stronger player and try to predict where they will go before they move.
Week 4 — Add deliberate strategy
- Try more TDM, FT or Duel depending on what interests you.
- Review your own match/weapon statistics for repeated weaknesses.
- Learn another map rather than endlessly polishing the first one.
- Pick one advanced skill—timing, rocket-jump routes, better LG distance control, rail positioning—and make it the next month's project.
At the end of four weeks, the goal is not “be good at Quake.†The goal is that the game now makes sense to you.
Chapter 15
The Quake skill ladder: what “getting better†actually looks like
Quake can feel discouraging because the scoreboard compresses dozens of different skills into one result. A veteran may beat you because they aim better, but they may also be arriving at every fight with more armor, using a better weapon for the room, hearing you before you hear them, moving through the map faster, or simply making fewer bad decisions. If you judge improvement only by wins, all of those invisible gains disappear.
A more useful way to learn is to think in stages. The stages overlap, and nobody graduates from one forever. Even elite players revisit fundamentals. The point is to know what kind of problem you are currently solving.
I can function
You know the controls, can directly select important weapons, can find basic pickups on a familiar map and can follow the action without staring at the keyboard.
I can execute
You can circle-jump into movement, carry useful speed, hit simple rockets/rails/LG, dodge deliberately and perform basic rocket jumps without turning every attempt into self-destruction.
I understand the room
You notice armor, health, exits, teammate positions, sound cues and whether a fight is favorable before you commit to it.
I shape what happens next
You begin timing resources, choosing routes that deny opponents, setting traps, protecting escape routes and taking fights because they serve a larger plan.
I play the opponent
You infer where someone will go from what they need, what they heard, what they just lost and what the map offers them. Aim becomes only one part of the interaction.
I change the plan
You recognize what a particular opponent or team is doing repeatedly and deliberately alter pace, weapon choice, positioning or resource priorities to punish it.
Beginners often try to skip straight from Stage 1 to Stage 5 by watching high-level Duel videos and memorizing item times. That can be interesting, but it is difficult to use prediction when you still need conscious effort to select the Rocket Launcher. Build enough mechanical automation that your attention is free for strategy.
Chapter 16
How Quake fights are won before the aim duel begins
The cleanest lesson an experienced player can give a beginner is that a fight is not simply two crosshairs competing. The geometry of the room, the health/armor difference, the weapons already in hand, the first damage, the escape options and the reason for the fight all matter. Good aim can rescue a bad situation, but strong players spend much of a match avoiding unnecessary bad situations in the first place.
The five-question fight check
Doorways, corners and verticality
Quake's projectiles make corners important. If an enemy must pass through a doorway, the doorway itself becomes an aiming reference. Rockets do not need to hit a model directly; splash damage can punish the floor, wall or frame around a crossing point. Grenades can occupy space before a player enters it. Railgun rewards sight lines where a single accurate shot can be taken without exposing yourself for long.
Vertical separation changes weapon value. A player shooting rockets downward toward a floor often has forgiving splash opportunities. The player below may have fewer surfaces behind the opponent to splash. Conversely, a lower player may be able to disappear underneath a ledge and break line of sight. Learn to ask not merely “who is higher?†but “whose weapon benefits from the surfaces around the target?â€
Damage is also information
Every hit tells you something. A strong rail hit may justify a chase if you know the opponent was already weak. A series of poor LG trades may tell you to disengage. Hearing an opponent collect health immediately after escaping tells you where they probably went and that your damage forced a recovery route. Over time, you stop viewing damage only as a number and start using it to predict behavior.
Beginner fight rule: leave more often
New players frequently stay in fights until one player dies because that is how many shooters teach engagements. Quake allows and rewards disengagement. If you enter with the wrong weapon, take the first heavy hit or realize a second enemy is arriving, backing out can be the correct play. Surviving preserves position, weapons and whatever stack remains.
Intermediate fight rule: make the enemy choose between two bad options
Instead of chasing directly, cut toward the resource or exit they probably need. Instead of standing on an item, hold a position from which you can damage both the item and a likely approach. Instead of following a fleeing player through the same doorway, take a parallel route that intercepts them. This is where map knowledge becomes combat power.
Chapter 17
Movement lab: from “I can strafe jump†to useful movement
The released Quake III movement code is wonderfully revealing because it shows why Quake movement feels different from a game that simply caps you at a running speed. In the air, the game computes a desired movement direction from your forward/side input and view direction, then applies air acceleration toward that desired direction. That relationship between current velocity and desired direction is the foundation underneath strafe jumping. You do not need to perform the vector math while playing, but understanding the idea explains why coordinated key input and mouse turning matter.
There are two separate goals: generating speed and using speed. A player who can reach a huge speed in an empty corridor but cannot arrive cleanly at a doorway or pickup has trained only half the skill.
Circle jump: the launch
From low speed, you want a strong initial acceleration before the repeated airborne strafes begin. The practical feel is a coordinated turn plus forward/side input followed by the jump at the right moment. Do not obsess over a perfect theoretical angle at first. Train repeatability: pick a line on the floor and try to cross a distant point with more speed than a plain forward jump.
Strafe jumping: steering acceleration
Once airborne, alternate the strafe direction with a smooth mouse turn that keeps your desired movement direction offset from your current velocity rather than pointing straight along it. Turning too little produces weak acceleration. Turning too sharply sacrifices forward speed and may cause you to carve across the corridor. The correct feel depends on current speed, frame timing and the route you are taking, which is why a rigid “move the mouse exactly this much†recipe is less useful than feedback.
Route movement beats laboratory movement
Real maps contain stairs, ledges, door frames, jump pads, lifts, teleports, corners and enemies. The useful question is: can you carry speed through those features while arriving with your crosshair and weapon ready? A beautiful strafe chain that launches you past an armor pickup or into a wall is not efficient movement.
Pre-aim while moving
Beginners often look where they are moving. Strong players increasingly look where an enemy might appear while their movement follows a route they already understand. On a familiar path, practice turning your view toward likely doors or ledges before you reach them. This is one reason map familiarity multiplies aim skill: your crosshair can already be near the next threat.
Rocket jumping as routing, not decoration
A rocket jump spends health in exchange for position and time. The trade can be excellent when it reaches a major resource first, escapes danger, takes a powerful ledge or skips a slow route. It can be terrible when you spend a large fraction of your stack merely to look fast. Learn a small number of useful rocket jumps on maps you actually play.
What about plasma climbing and advanced trick movement?
Quake-family games contain many movement interactions beyond the beginner core. They are worth learning when they solve real map problems or when movement itself is your hobby. The beginner priority remains circle starts, practical strafe jumping, landing control, vertical routing and a handful of valuable rocket jumps.
Movement under fire
The fastest route is not always the safest route. When somebody is holding Railgun, a long predictable airborne arc can become a gift. When rockets are being spammed through a doorway, slowing, delaying a jump or changing level may be better than preserving speed. Competitive movement is partly the ability to intentionally break your own rhythm.
Chapter 18
Weapon lab: the Quake arsenal as a set of jobs
One of Quake's defining strengths is that its weapons overlap enough to permit creativity but remain different enough that selection matters. Do not memorize a hierarchy from “best†to “worst.†Build a mental toolbox: which weapon controls this space, finishes this target, starts this fight, denies this doorway or lets me leave safely?
Rocket Launcher — space, splash and prediction
The Rocket Launcher rewards shooting where the enemy will interact with geometry. Floors, walls, stairs and door frames are part of your aim. At close-to-medium range, a direct rocket is devastating, but consistent splash damage is often more reliable than gambling everything on direct hits. Against an airborne opponent, remember that there may be no useful surface behind them; a different weapon can become better immediately.
- Best habit: aim at surfaces the opponent must cross.
- Common beginner mistake: aiming every rocket at the torso and watching it sail past.
- Advanced transition: use the first rocket to influence movement, then aim the next shot where the knockback or dodge is likely to send them.
Lightning Gun — tracking plus distance management
LG looks like a pure aim test, but distance and movement are part of the weapon. At favorable range, sustained tracking converts tiny crosshair corrections into steady damage. If you are wildly over-flicking, the problem may be movement or sensitivity control rather than “bad aim.†Try tracking with your own movement calm enough that you can read the opponent's dodge.
- Best habit: separate your aim correction from panic strafing.
- Common beginner mistake: holding fire while the crosshair is obviously lost and continuing the same movement rhythm.
- Advanced transition: use your own strafe to simplify the opponent's apparent movement instead of making both players maximally chaotic.
Railgun — one shot, one exposure window
Railgun rewards precision and timing, but its strategic power comes from the ability to deal meaningful damage during a brief line of sight. You do not need to stand in the open and turn every encounter into repeated rail shots. Peek, take the shot, disappear, relocate, or switch weapons when the opponent closes distance.
- Best habit: pre-aim likely crossings so the shot requires a small correction.
- Common beginner mistake: refusing to switch away from Rail after missing at close range.
- Advanced transition: use rail damage to change the opponent's route or force a health detour.
Shotgun — reliable close-range conversion
Shotgun is useful when a target is close enough that a spread of pellets can convert reliably, especially when you need a fast finishing shot and do not want rocket self-damage. It also teaches a valuable Quake lesson: sometimes the correct weapon is the boring one that secures the frag.
Grenade Launcher — delayed ownership of space
Grenades are less about reacting to the exact current location of an opponent and more about making a route unpleasant in the near future. Bounce them into lower areas, around corners or onto an approach to create delayed pressure. Random grenade spam can occasionally work, but purposeful grenades answer a question: “where do I not want the enemy to walk?â€
Plasma Gun — sustained projectile pressure
Plasma rewards leading and can flood a lane with fast projectiles. It can be excellent when an opponent has constrained movement, when you can predict a doorway crossing, or when close-range output matters and the geometry supports it. The visible stream also provides feedback that helps beginners learn leading.
Machinegun — never dismiss the starting tool
The Machinegun is easy to mentally discard once you collect glamorous weapons. That is a mistake. At the right range it provides immediate hitscan pressure, can finish weak opponents and costs no setup time beyond selecting it. A player who understands when to use a modest tool is more dangerous than a player who worships one favorite weapon.
Gauntlet — situational, psychological, occasionally perfect
The Gauntlet is not a sensible default combat plan, but point-blank situations do happen. More importantly, learning to select it deliberately reinforces the larger principle that every weapon has a job. Treat novelty frags as fun, not as a substitute for fundamentals.
Weapon combinations
Quake fights often become sequences rather than single-weapon duels. A rocket can pop or redirect an opponent, followed by Railgun for a clean line. A rail hit can establish a damage advantage before closing with LG. Grenades can discourage one route while you hold another weapon on the alternative. The transition itself should become automatic enough that your tactical thought is “what happens next?†rather than “where is key 7?â€
Chapter 19
Spawns, deaths and recovery: the part after “you diedâ€
Beginners often experience death as a reset button: spawn, run toward noise, fight, repeat. Stronger Quake play treats the seconds after a death as a distinct recovery phase. Depending on the mode, you may respawn with limited equipment and stack while opponents are already armed, armored and positioned. Your first job is not always revenge. It is to become functional again.
First priorities after spawning
- Orient. Recognize the spawn location immediately on maps you know.
- Acquire a usable weapon. The ideal weapon may be dangerous to reach; take what makes the next encounter survivable.
- Build stack. Nearby armor/health can be worth more than a desperate chase.
- Listen. The first sound may tell you whether somebody is already approaching your spawn.
- Choose whether to contest or recover. If a major item is about to appear and you have a path, perhaps contest. If the opponent is fully stacked and waiting, feeding another frag may be worse.
This is particularly visible in Duel, but the principle transfers. In FFA, blindly returning to the same fight can create a death loop. In TDM, dying can also donate control and weapon access to the other team. In CA, there is no mid-round item recovery, so the analogous skill is how you reposition after losing a teammate or taking heavy damage.
Breaking a death loop
If the same player kills you repeatedly in the same area, change the problem. Take another route. Collect a different weapon. Delay your re-entry. Approach from another level. Let another fight begin before you reveal yourself. The fastest route back to the killer is often exactly the route they expect.
Chapter 20
The control cycle: timing items without becoming a human spreadsheet
Resource control is easiest to understand as a repeating cycle rather than a list of timers. A valuable item is taken. That creates a future appointment. Between now and that appointment, players fight for the routes, weapons, stack and information that determine who can approach it safely. Then the item appears, somebody takes it, and the next cycle begins.
Step 1: know what matters on this map and mode
You do not need to time everything. Start with one major armor or health resource on a familiar map. Learn where it is, what routes lead to it and what nearby weapons influence the area. When that becomes automatic, add a second resource.
Step 2: notice the pickup
The easiest timing cue is one you personally witness or collect. Sound, disappearance and combat context can also tell you that an opponent took something. Do not let perfect arithmetic become a barrier. Even “that item was taken recently, so it will not be there yet†is useful information.
Step 3: use the interval
The time between pickups is not dead time. It is when you collect weapons, damage the opponent, take position, deny a route, recover health, or intentionally show yourself somewhere that changes what the opponent expects.
Step 4: arrive with a plan
Standing directly on an item waiting for it to spawn can be predictable and dangerous. Often a nearby position lets you threaten the item while retaining cover or an escape. Ask whether you want to take the item, damage whoever takes it, or use their commitment to take something elsewhere.
Step 5: reset the clock mentally
Once the item is taken, the cycle begins again. Over time, you will find that timing stops feeling like memorizing a number and starts feeling like the rhythm of a map.
When you are out of control
Do not repeatedly walk into the strongest player's best position just because a major item is valuable. Sometimes the correct out-of-control play is damage from range, stealing lesser resources, taking a weapon, setting up an ambush, or conceding one pickup so you can challenge the next cycle from a stronger state.
When you are in control
Control is not permission to become careless. A heavily stacked player can still throw the advantage by taking unnecessary damage, chasing too far or arriving late to the next important area. The point of the stack is to create favorable choices, not to prove that you are immortal.
Chapter 21
Teamplay and communication: Quake is not five private duels happening at once
Team modes change what “good†means. A spectacular individual chase can be terrible if it abandons a teammate, exposes a resource or turns a favorable numbers advantage into isolated fights. The stronger your mechanical skill becomes, the more important it is to aim that skill at the team's actual objective.
Clan Arena: stay connected to the round
CA gives everyone a broad weapon set and removes the map pickup economy from the round, which is one reason it can be approachable for practicing combat. But the mode still punishes isolation. If your teammates choose an opening side or target, disappearing alone across the map can create a temporary numbers disadvantage. Learn common starting patterns on the maps your community plays and watch where your team commits.
When a teammate is fighting, damage on the same enemy is usually more valuable than starting a separate private duel. Crossfire matters. So does surviving when your death would create a 2v1 or 3v2 against your team.
Freeze Tag: the objective changes the value of a kill
In Freeze Tag, freezing enemies matters, but thawing teammates is part of the victory condition. A player obsessed with chasing one last weak enemy can leave multiple teammates frozen. Learn to periodically widen your attention from the crosshair to the state of the round.
TDM: weapons and resources belong to the team
Team Deathmatch combines aim, positioning and map-resource economy. A weapon pickup that is merely “nice†in FFA may be strategically important because your teammate needs it, the enemy is trying to deny it, or control of that area supports a major item. Avoid taking resources thoughtlessly when a teammate needs them more, and learn whatever communication conventions your server/community uses.
Communication that is actually useful
Good calls are short, timely and actionable. The exact vocabulary varies by map and community, but useful information usually falls into a few categories:
- Location: where an enemy or teammate is.
- Condition: weak, heavily stacked, missing a weapon, isolated.
- Movement: leaving toward a named area, dropping, coming through a teleporter.
- Resource: item taken, weapon available, area controlled.
- Intent: attacking, backing out, thawing, regrouping, holding.
A six-second speech is usually worse than two clear words during a fight. Learn map-location names gradually and use names that the people on your server actually understand.
Chapter 22
Ping, frame rate and performance: fix real problems, not forum superstition
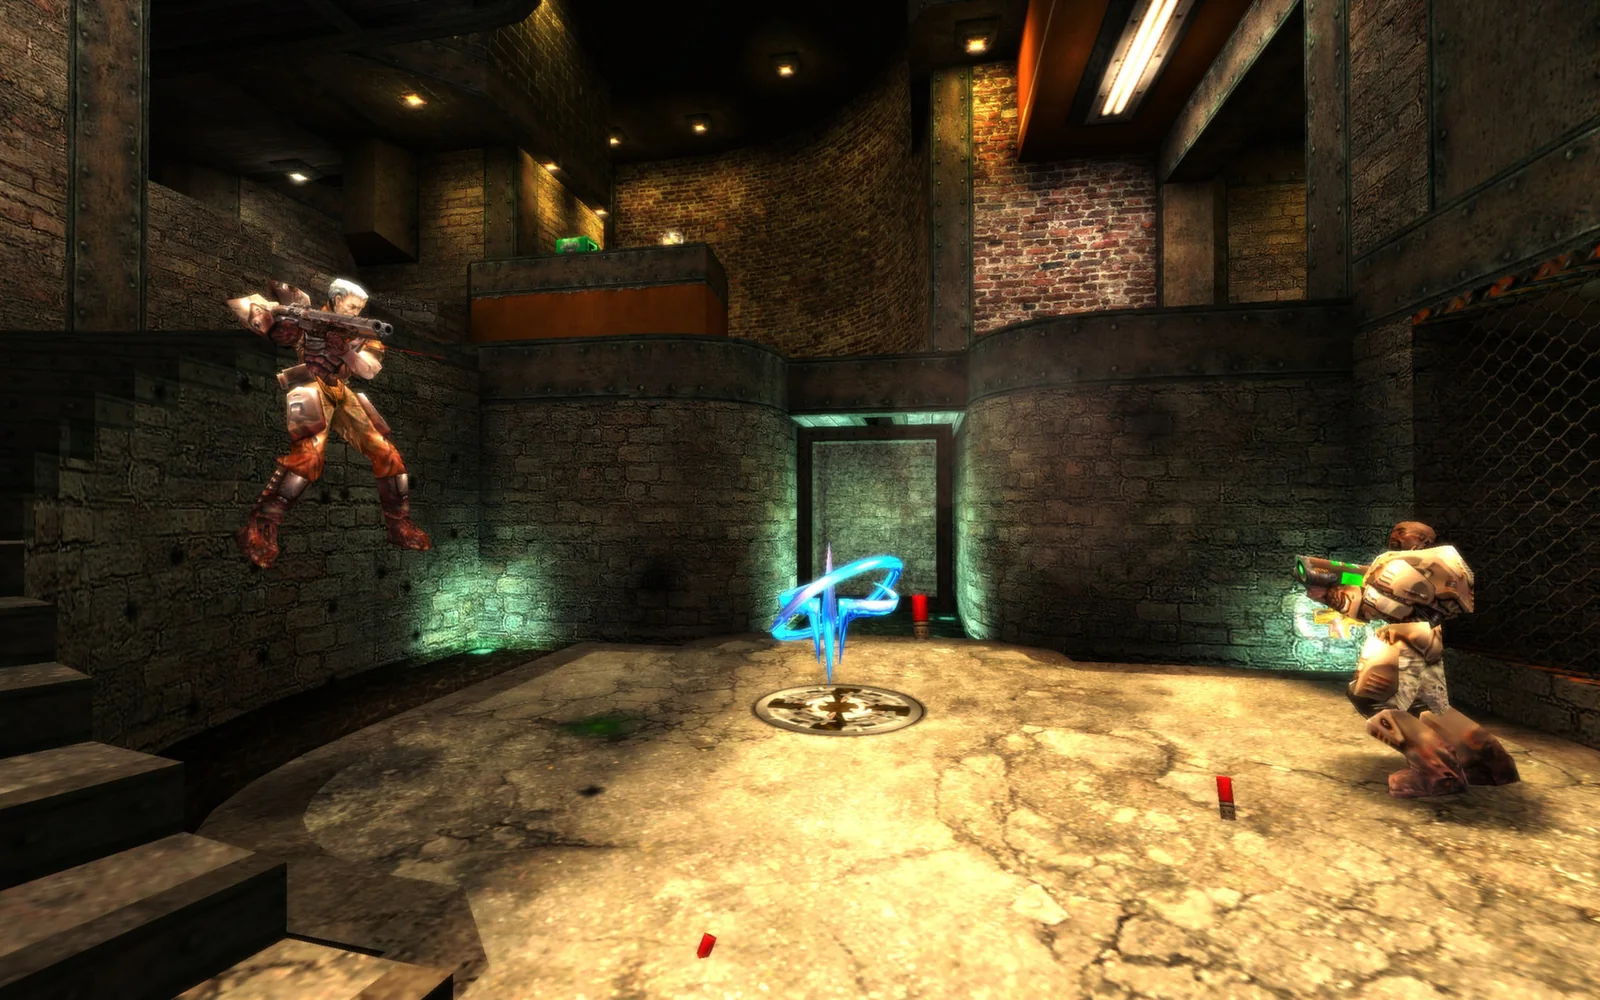
Quake players care intensely about responsiveness, and for good reason: the game is fast and precise. That does not mean every unusual config value on an old forum post is mandatory. Start by separating four different things: frame rate, display refresh, input feel and network latency.
Stable frame delivery matters
A high frame rate can improve perceived smoothness and input responsiveness, but a wildly unstable frame rate can feel worse than a stable one. Use settings your system can sustain during actual fights, not merely while staring at an empty wall. Quake Live is lightweight by modern standards on most current hardware, so readability usually does not need to be sacrificed aggressively.
Refresh rate and frame rate are related but not identical
Your monitor's refresh rate describes how often it can update the image. The game can render at its own rate. Communities often debate ideal combinations, and historical engine behavior has produced many configuration traditions. A beginner is better served by confirming that Windows and the game are actually using the intended monitor/refresh configuration, then prioritizing stable performance and comfortable input.
Ping changes what is easy
Latency affects the time between network events and what you experience. High ping does not make learning impossible, but it can change how forgiving certain engagements feel. Do not mistake a network problem for a fundamental inability to aim. Conversely, do not blame every missed shot on ping. Compare across servers and watch for consistent patterns.
Packet loss is worse than a simple ping number
A moderate but stable connection can be easier to adapt to than a connection that intermittently drops or delays packets. If movement or opponents appear to hitch unpredictably, investigate the network rather than endlessly changing sensitivity. Wired Ethernet, healthy Wi‑Fi signal, avoiding saturated uploads/downloads and choosing a geographically sensible server are practical first checks.
Do not optimize what you cannot describe
Change one thing at a time. “The mouse feels floaty,†“the image tears,†“the frame rate drops in fights,†and “players teleport occasionally†are different symptoms. A configuration copied from somebody else may accidentally hide or introduce problems without teaching you what changed.
Chapter 23
Practice drills: 10 minutes, 30 minutes or a full session
Practice works best when the drill resembles the skill you want in a match. Endless aim training can improve mouse control while doing nothing for weapon choice. Endless strafe-jump practice can increase speed while your combat movement remains predictable. Mix isolated drills with real games and give each session one explicit focus.
The 10-minute warm-up
The 30-minute improvement block
- Five minutes isolated mechanics.
- Ten minutes bots or low-pressure play with one constraint.
- Ten minutes normal multiplayer where that constraint remains your focus.
- Five minutes review: what kept going wrong?
A constraint might be “never wheel-scroll weapons,†“check stack after every fight,†“do not take a Railgun shot without cover nearby,†or “listen for jump pads.†The rule narrows your attention so repetition becomes learning.
The full-session pattern
Start with a brief warm-up, then play normally. Halfway through, identify one repeated failure. Maybe you keep entering rooms with the wrong weapon, losing enemies vertically, or dying while chasing. Spend the next few games testing a specific correction. This keeps practice connected to evidence from your own matches.
Map-route time trials
A useful community suggestion for movement practice is to time practical routes between important locations rather than only chasing raw speed. Pick weapon-to-armor, spawn-to-weapon or item-to-item routes. Find a faster path, then repeat it while keeping your view oriented toward likely combat angles. This blends movement and map knowledge.
Accuracy is a diagnostic, not a religion
If accuracy rises because you only take safe shots, your number can improve while your contribution falls. If accuracy drops because you are correctly using rockets to deny a doorway, the number may understate value. Use weapon statistics to ask questions, then watch the actual behavior that produced them.
Chapter 24
Demo review and spectating: borrow experience from stronger players
Quake has a long culture of demos and spectating because the game becomes much easier to understand when you can watch decisions without simultaneously trying to aim and survive. Even if you never become a serious demo analyst, ten minutes of deliberate observation can reveal habits that are invisible while you are playing.
How to spectate productively
Do not merely watch the crosshair and admire aim. Pick one question:
- What weapon do they select before entering each area?
- When do they stop chasing?
- Where do they look while moving through a familiar route?
- What do they collect after taking damage?
- How often do they arrive at important resources early rather than late?
- When they lose control, where do they go instead of challenging immediately?
- In team modes, how close are they to teammates when fights begin?
Review your own deaths, not only your misses
A missed shot is obvious, so players naturally blame aim. Replays frequently show an earlier decision that made the miss almost irrelevant: entering with low stack, walking into a known angle, using Rail at point-blank range, chasing through a doorway, ignoring a sound cue or arriving late to a resource.
When reviewing a death, rewind mentally ten seconds. Ask: What was the first decision that made this death likely? Sometimes the answer is indeed “I missed.†Often it is not.
Build a tiny personal error list
Keep no more than three recurring problems at once. For example:
- I reload my attention after every frag and get surprised immediately.
- I chase weak players into bad rooms.
- I forget to switch from Rail when distance collapses.
Three actionable observations are more useful than a page of self-criticism. When one problem improves, replace it with the next.
Chapter 25
The intermediate mindset: stop trying to prove you are fast
There is a recognizable stage in Quake learning where a player has acquired the visible skills—strafe jumping, weapon binds, respectable aim—and then plateaus because every decision is performed at maximum aggression. The next improvement often comes from restraint.
Tempo is a weapon
If you always move at the same pace, enter immediately and chase every hit, opponents can predict you. Sometimes delaying half a second at a doorway creates a free rocket on the player who expected you to burst through. Sometimes walking or holding position preserves sound information. Sometimes leaving a fight is the aggressive decision because it lets you control the next resource instead.
Information has a half-life
You hear an opponent at a jump pad. For a moment, their likely location is highly constrained. As seconds pass, the number of possible routes expands. Act quickly on fresh information, but do not continue behaving as though you know their exact position after the evidence has expired.
Prediction should come from constraints
Good prediction is not mystical mind reading. If an opponent is weak, nearby health becomes attractive. If they lack a key weapon, its spawn area becomes attractive. If a major item is soon, routes toward it become attractive. If one doorway is covered by rockets, the alternative route becomes more likely. Prediction grows from understanding what options make sense.
Show information deliberately
Your opponent is also listening and predicting. Firing a weapon, collecting an item, taking a jump pad or showing yourself at a doorway reveals information. Sometimes that is unavoidable. Sometimes you can use it: make noise in one area, then take a route they did not expect; pressure one resource so they concede another; appear briefly at a sight line and force them to respect it.
Stop measuring yourself against the strongest person in the server
A veteran with years of map knowledge can make you feel as though none of your practice matters. Compare against your own previous behavior. Are you surviving longer? Selecting weapons before fights? Landing more intentional rockets? Hearing more cues? Reaching armor without consulting the map in your head? Those are real gains even when the same veteran still wins.
Myth: “Quake is just aim.â€
Aim is enormously important, but the game also rewards movement, weapon choice, resource control, information, routing and prediction. Strong aim can mask strategic weaknesses for a while; strong strategy can create easier shots.
Myth: “You must master strafe jumping before multiplayer.â€
No. You should begin learning movement early, but real multiplayer gives context to the skill. You can improve movement while playing FFA/CA and gradually transfer it into useful routes.
Myth: “There is one correct sensitivity/FOV/config.â€
There are sensible ranges, technical constraints and common preferences, but comfort, hardware, vision and play style differ. Stability and understanding your settings matter more than copying a famous name's file blindly.
Myth: “If I lose badly, matchmaking or ratings are useless.â€
Ratings summarize performance; they cannot guarantee that every live server population contains a perfect opponent at every moment. Old arena shooters can have wide skill spreads. Use ratings as context, not as a promise that every lobby is evenly matched.
Chapter 26
The “I’m no longer brand new†checklist
You do not need every box checked before trying harder modes. This is simply a practical inventory of skills that make Quake feel increasingly coherent. Revisit it after a month and you will probably notice progress you missed while staring at scoreboards.
- I can directly select RL, LG, Rail, Shotgun and the other weapons I use without looking at the keyboard.
- I recognize the spawn/starting area on several maps quickly.
- I can perform a repeatable circle-jump start.
- I can connect several useful strafe jumps without losing control at the next corner.
- I know at least one practical rocket jump on a map I play.
- I instinctively aim many rockets at floors/walls rather than only player models.
- I switch away from Rail when the engagement becomes a bad Rail fight.
- I can track with LG without panic-shaking the mouse.
- I check my health/armor after taking damage.
- I know where the major armor/health resources are on at least two maps.
- I can roughly anticipate one important pickup cycle without staring at a clock constantly.
- I know two routes between important areas on a familiar map.
- I sometimes stop a chase because the geometry or resource situation is becoming bad.
- I notice jump pads, teleports, pickups and weapon fire as positional information.
- I can describe why FFA, CA, FT, Duel and TDM reward different behavior.
- In team modes, I periodically know where my teammates are instead of playing alone.
- After a death, I sometimes rebuild stack/weapons instead of sprinting directly back to the killer.
- I can identify at least one repeated mistake from my own stats or replay/spectating.
- I keep a stable sensitivity long enough to actually adapt to it.
- I know how to use the console without treating random internet configs as sacred text.
- I understand that a high score and a productive practice session are not the same thing.
- I can enter a room already holding the weapon I expect to need.
- I can name a fight I intentionally declined and explain why.
- I have at least one map where I can move and look at likely enemy angles simultaneously.
- I can watch a stronger player and focus on routing/resources instead of only their aim.
- I have learned enough Quake vocabulary to ask a specific question when something confuses me.
Chapter 27
Expanded Quake glossary
Arena first-person shooter: the broad genre label commonly used for Quake-like competitive shooters.
Your practical survivability from health and armor.
A shot resolved immediately along an aim line rather than a projectile visibly traveling through space.
A shot with travel time, such as a rocket or plasma bolt, that rewards prediction/leading.
Common shorthand for Rocket Launcher, Lightning Gun and Railgun.
A movement technique that coordinates jumping, directional input and view turning to build/preserve speed.
A fast accelerating launch from low speed, commonly used to begin a movement chain.
Using your own rocket explosion to gain movement at the cost of self-damage where applicable.
Tracking when an important pickup was taken so you can anticipate when it will return.
Using position, resources and information to make the opponent's choices worse while improving your own.
A kill/score event in traditional Quake language.
A recorded game session that can be replayed for review or spectating, depending on format/support.
A state where your stack, position, weapons and timing let you contest important resources from an advantage.
The opposite state: you may need to recover weapons/stack, deal safe damage or concede one resource to challenge a later one.
Prevent an opponent from safely obtaining a weapon, item, route or position.
Placing your crosshair near a likely enemy appearance point before the enemy is visible.
Two or more teammates attacking an enemy from angles that are difficult to answer simultaneously.
An exchange of damage, frags or resources; whether a trade is good depends on stack, score, time and objective.
Pursuing a retreating opponent. Powerful when justified, dangerous when it pulls you away from control or into a trap.
Briefly exposing yourself to take information or a shot while minimizing exposure time.
The location/state in which a player re-enters play after a death or round start.
The process of rebuilding weapons, stack, position and options after spawning or losing control.
The repeating sequence from an important item's pickup to the fight/positioning for its next appearance.
Using constraints and information to estimate an opponent's next route, position or action.
Firing projectiles or shots into likely areas without a currently visible target, often to deny space or catch movement.
Off the ground; often changes movement options and the usefulness of splash-based weapons.
A direct visual/shooting path between positions. Breaking it can be as important as dealing damage.
Common shorthand for line of sight.
Chapter 28
Sources, reality checks and where this guide goes next
This page separates three kinds of information. Basic product facts come from id Software/Bethesda/Steam. The explanation of why strafe-style movement works is grounded in id Software's released Quake III Arena movement source. Setup/config-file facts use Bethesda support documentation. Recommendations about what beginners tend to struggle with are informed by current Quake Live player discussions and the long-running community guide ecosystem rather than presented as immutable game rules.
- Quake Live on Steam — official/current product description, features and listed game modes.
- Bethesda Support: Quake Live config files — official Steam-era configuration-file locations/names.
- Bethesda Support: Quake Live's move to Steam — official description of match browser, hosting and Steam features.
- id Software Quake III Arena source:
bg_pmove.c— primary source for the movement/acceleration model inherited by the Quake III family. - The Ultimate Quake Live Guide (Yakumo) — long-running community reference spanning setup, movement, configs, timing and more.
- Quake Live community: new-player improvement discussion (2025) — current player experience around binds, movement, bots and mode-specific learning.
- Quake Live community: beginner help discussion (2025) — current advice emphasizing readable settings, weapon access and movement.
- Quake Live community: starting-the-game discussion (2025) — recent questions and community experience around FOV/FPS, resource management, aim, dodging and the difficulty of learning among veterans.
Planned deeper guides
This Learn page is intentionally the hub. The next useful expansion is to split the subjects that deserve hands-on depth into dedicated pages while keeping this one readable: Movement, Weapons, Maps, Game Modes, Settings & Config, Console Commands, and eventually a stats-driven Quake Data Lab. Those pages can link back here instead of forcing a brand-new player through a hundred technical details before their first match.
Image sources & credits
Quake Live and Quake III Arena gameplay images are official store screenshots from id Software/Bethesda Softworks via Steam. The QuakeCon 1996 photograph is © QuakeCon and reused under CC BY 2.0 via Wikimedia Commons.
Photo credits
Photographs on this page come from Wikimedia Commons and are reused under their respective free licences. No photographs on this page are AI-generated.
- Winter 2004 DreamHack LAN Party.jpg — en:User:Toffelginkgo / User:Toffelginkgo, CC BY-SA 3.0
- Hand on the computer mouse - 50202556601.jpg — Nenad Stojkovic, CC BY 2.0
- LAN party in France in 2003.jpg — Syced, CC0